
The easiest way to set up your email account on an Android phone or tablet is the Gmail app, which comes preinstalled on almost every Android device and also works with accounts that are not Google accounts. This guide walks you through the manual setup step by step, with the exact server settings and an explanation of a warning message you may see along the way.
Quick reference – server settings
Incoming (IMAP): mail.yourdomain.com, port 993, security type SSL/TLS
Outgoing (SMTP): mail.yourdomain.com, port 465, security type SSL/TLS
Username: your full email address (e.g. johndoe@yourdomain.com)
For POP3 and non-SSL ports, see Set Up Mail Client.
The screenshots in this guide show the Gmail app in English. If your phone uses another language, the option names will be translated, but the order of the screens and the layout of the fields are the same.
Adding a new account
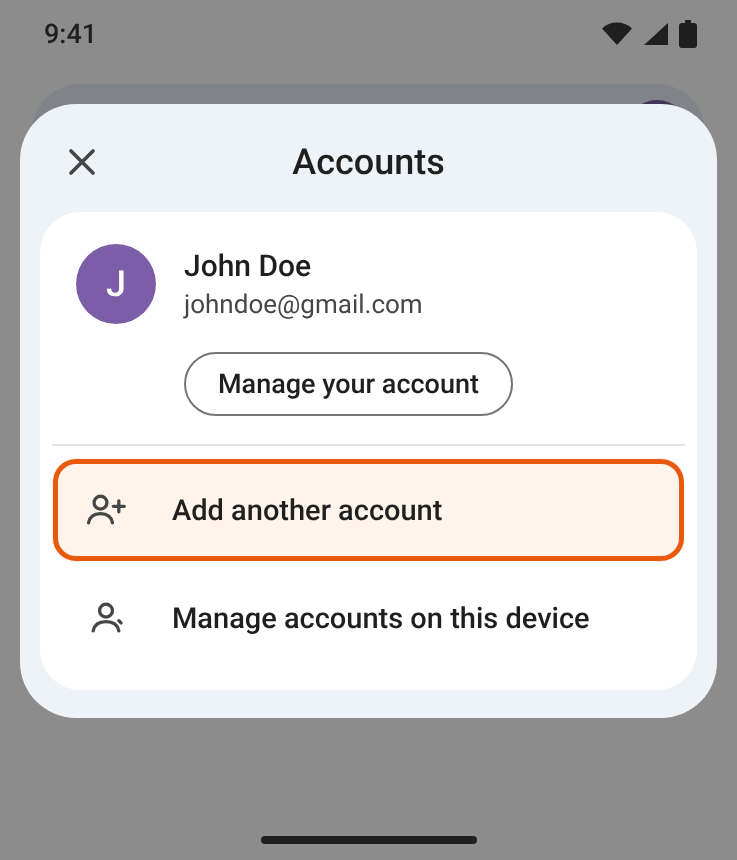
- Open the Gmail app
- Tap your profile picture (or initial) in the top right corner
- Tap Add another account
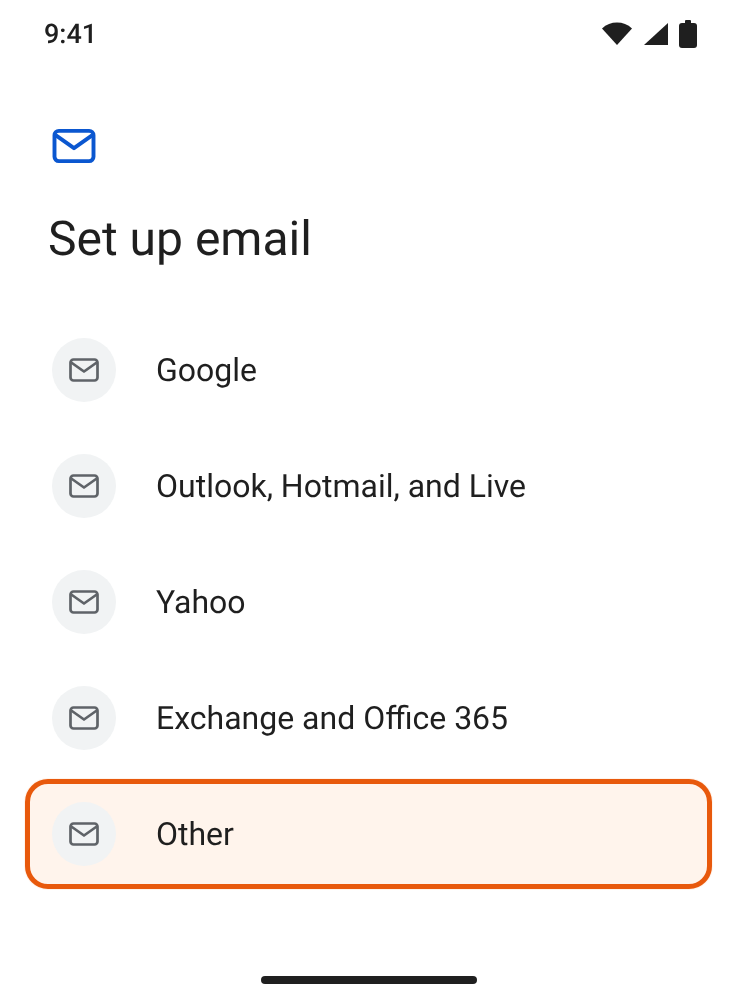
- On the Set up email screen, tap Other
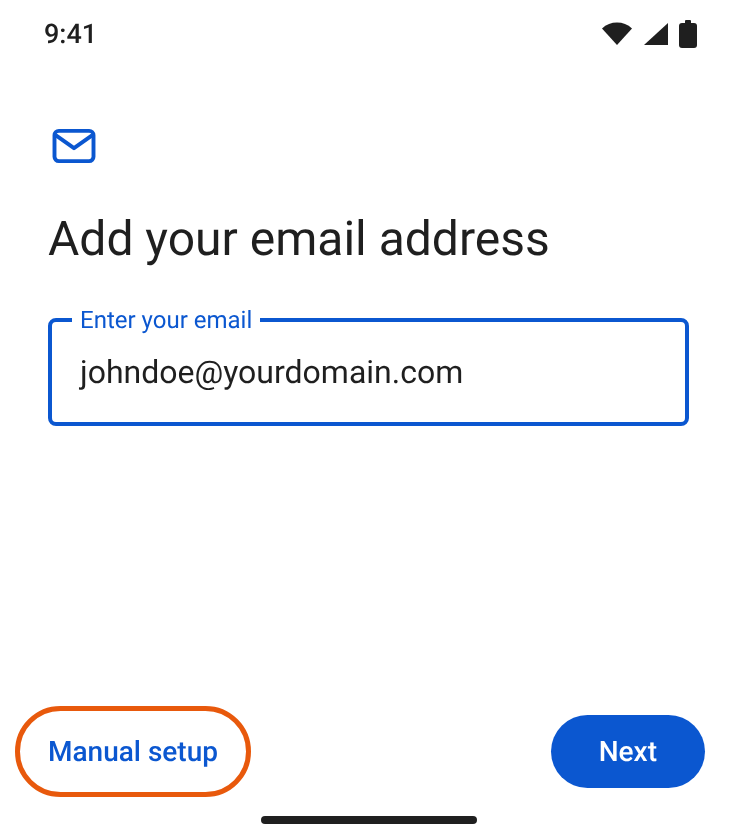
- Enter your full email address
- Tap Manual setup (not Next), so you can enter the server settings yourself
- Choose Personal (IMAP) (recommended) or Personal (POP3)
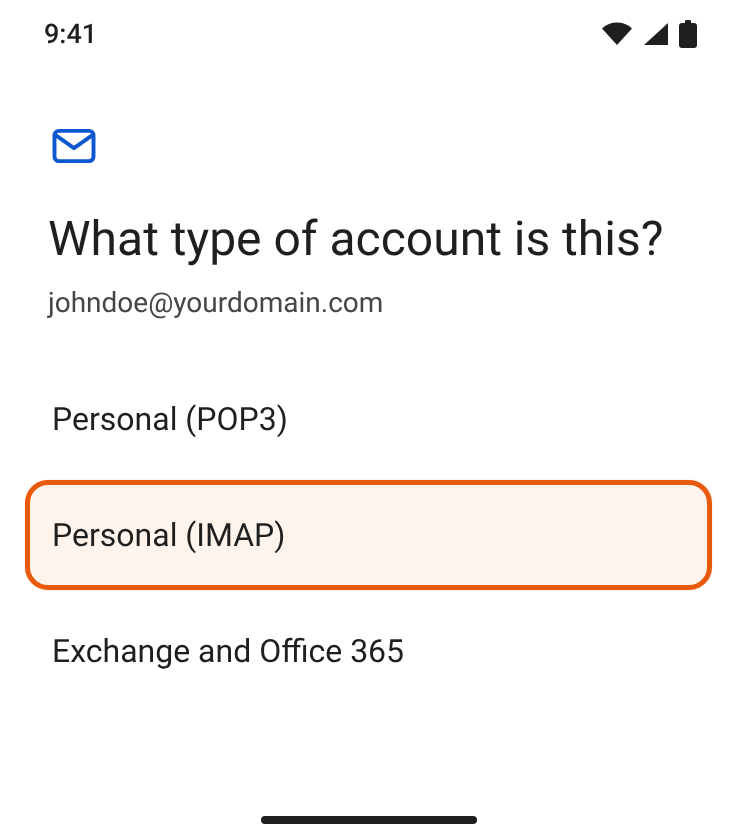
IMAP or POP3? With IMAP, your messages stay on the server and are synced across all your devices (phone, computer, webmail), which makes it the right choice in almost every case. POP3 downloads messages to a single device and only makes sense if you read your mail on that device alone.
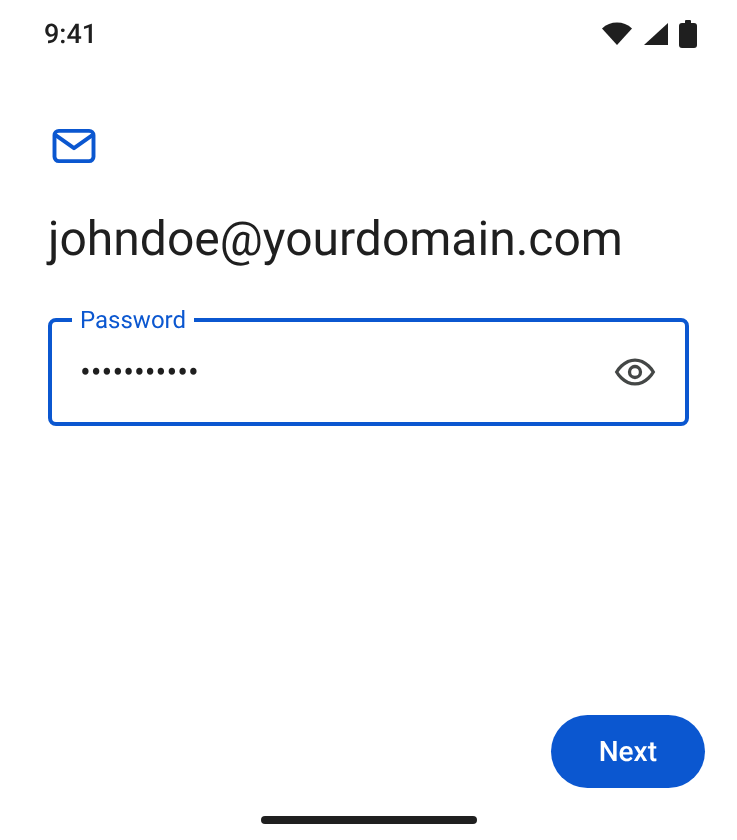
- Enter your email account password
- Tap Next
Server settings
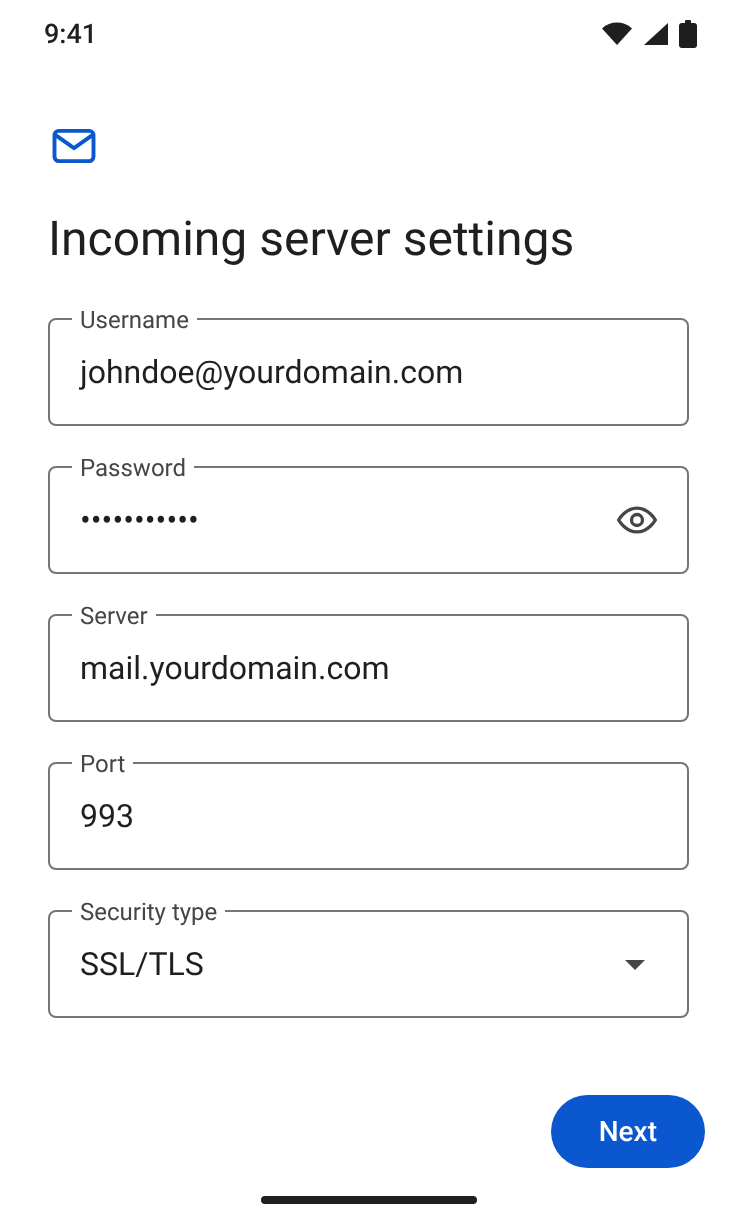
- On the Incoming server settings screen, enter:
- Username: your full email address, e.g. johndoe@yourdomain.com
- Password: your email account password
- Server: mail.yourdomain.com (replace yourdomain.com with your own domain)
- Port: 993
- Security type: SSL/TLS
- Tap Next
- On the Outgoing server settings screen, enter:
- Require sign-in: on — mandatory, sending mail does not work without signing in
- Username: your full email address, e.g. johndoe@yourdomain.com
- Password: your email account password
- SMTP server: mail.yourdomain.com (replace yourdomain.com with your own domain)
- Port: 465
- Security type: SSL/TLS
- Tap Next
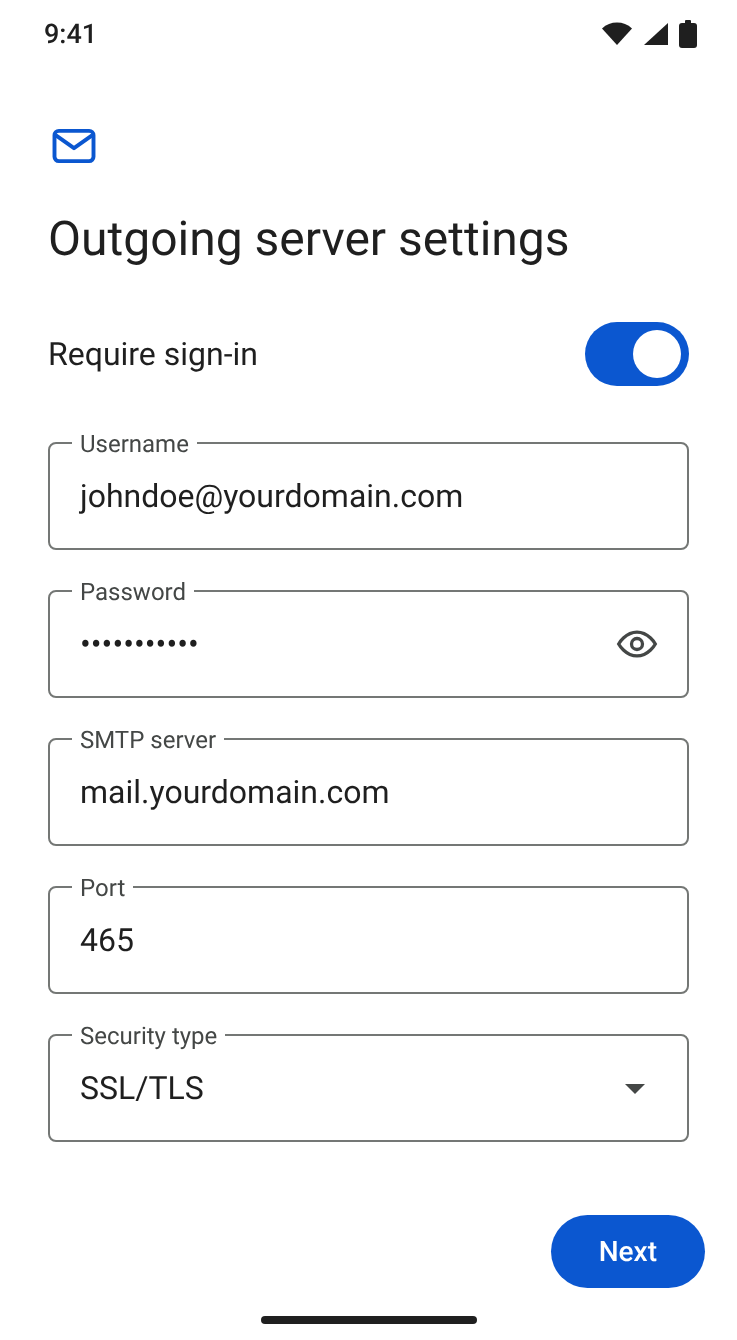
Note on ports and security type: Depending on its version, the Gmail app sometimes does not show the Port and Security type fields and selects them on its own. In that case, enter only the username, password and server, then continue. If the fields are shown, make sure SSL/TLS is selected for both the incoming and outgoing servers, with ports 993 (IMAP) and 465 (SMTP). If you chose POP3, the incoming port is 995.
"Certificate not valid" warning
After you enter the server, you may see a warning saying the certificate for mail.yourdomain.com is not valid. This happens because the SSL certificate on our mail server is issued to the server's own hostname rather than to your specific domain – it does not mean your connection is insecure.
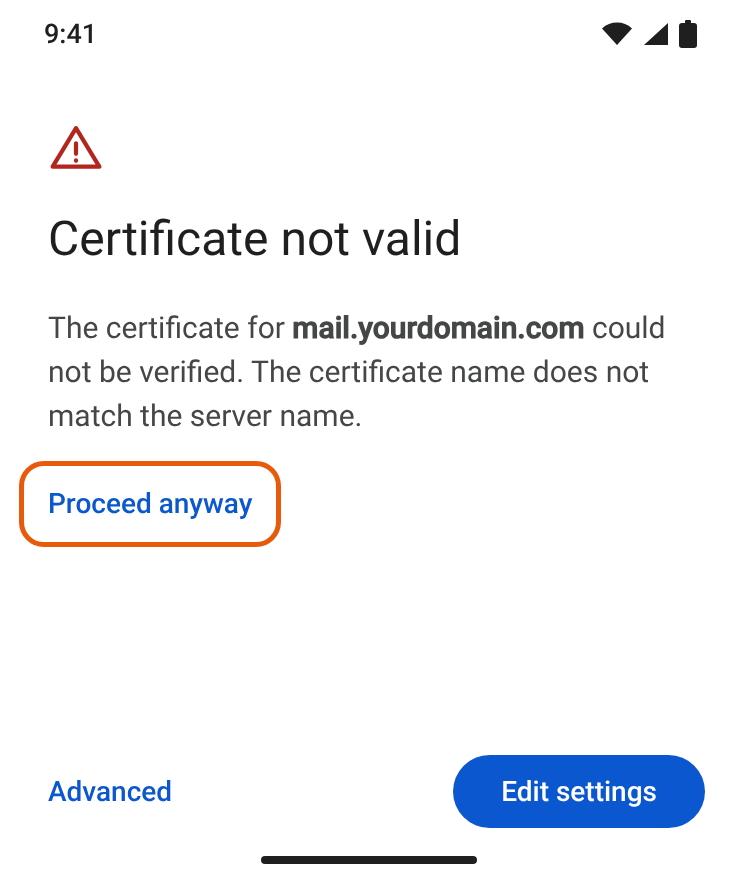
Tap Advanced, then Proceed anyway to continue with the setup. Alternatively, you can enter the main server hostname provided in your cPanel welcome email in the Server and SMTP server fields (tap Edit settings to go back). Your email traffic is still encrypted.
Final settings
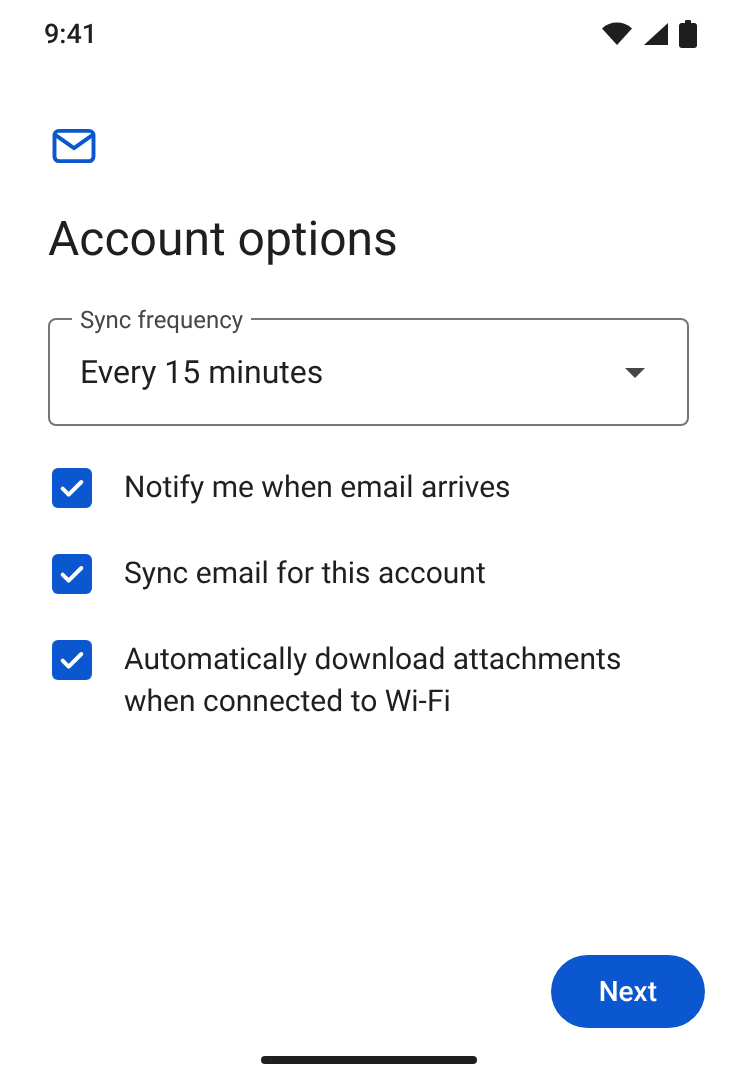
- On the Account options screen, choose how often your phone checks for new mail (Sync frequency) and whether you want notifications for new messages
- Tap Next
- In the Account name field, enter a name for this account (this is only shown on your device)
- In the Your name field, enter the name that will be shown on outgoing emails
- Tap Next
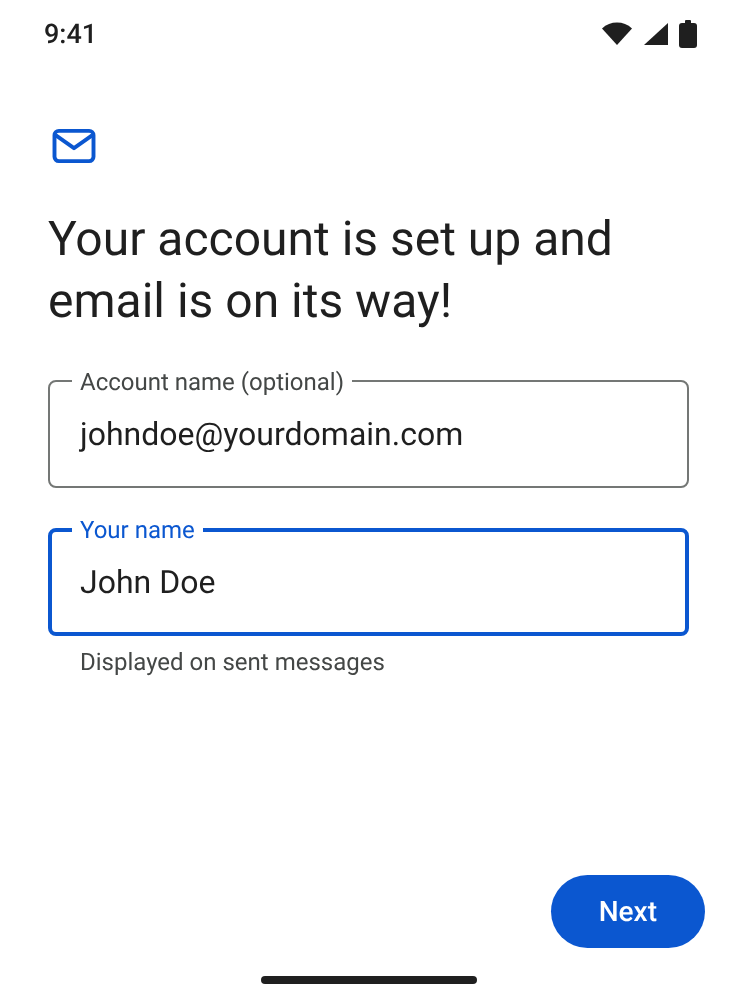
Your account is set up. To see its mail, tap your profile picture in the top right corner of the Gmail app and select the new account. Send yourself a test message to check that both receiving and sending work.
If the setup fails
- Wrong username or password: the username is always your full email address (johndoe@yourdomain.com), not just the part before the @ sign. You can check your password by signing in to webmail, and change it in cPanel under Email Accounts.
- The app cannot connect to the server: check that the server name is typed correctly (mail.yourdomain.com, no spaces) and that the port matches the security type – 993 and 465 go with SSL/TLS.
- Receiving works, sending does not: check that Require sign-in is turned on under Outgoing server settings and that the username and password are filled in.
A note on Samsung Email, Outlook and other apps
If you use Samsung Email, Outlook or another mail app instead of Gmail, the screens will look different, but the settings are the same: choose manual setup and an IMAP account, then enter the values from the quick reference at the top of this guide.
Related articles: Set Up Mail Client for the full list of ports and settings for all mail clients, and How do I create an email account on iPhone?
