When your business emails end up in clients Spam or Junk folders, the problem usually lies in the lack or misconfiguration of SPF, DKIM, and DMARC records. These protocols act as a "digital ID card" for your domain. They prove to the recipient's server that the message was indeed sent from your official server and protect your domain from misuse.
In this guide, we will go through simple steps to automatically generate and set up these records directly from cPanel.
Step 1: Access the Email Deliverability Tool
cPanel features a built-in tool that automatically analyzes and resolves issues with SPF and DKIM records.
- Log in to your cPanel account by following this guide - How to access cPanel?
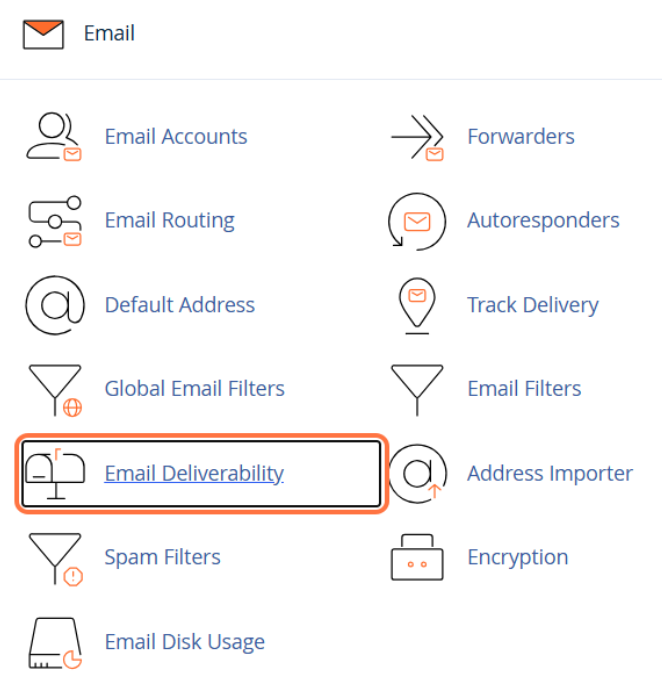
- In the top search field, type Email Deliverability (or manually find this option within the Email section).
- Click the icon to open the tool.
Step 2: Installing DKIM and SPF Records
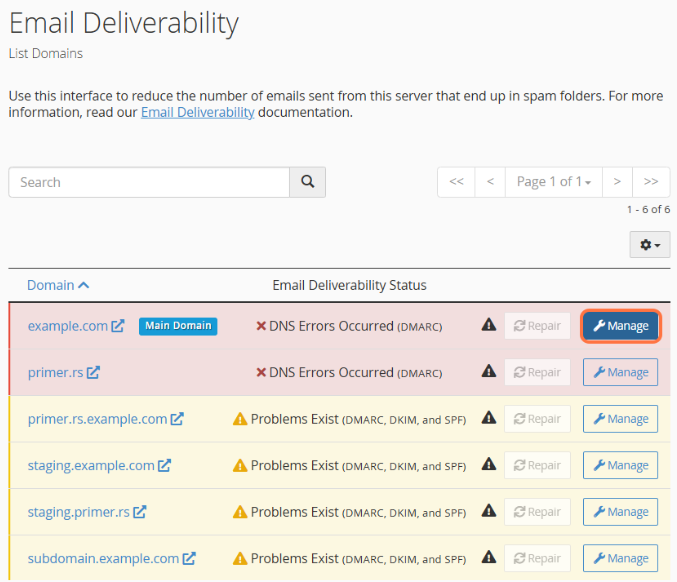
On the Email Deliverability screen, you will see a list of all domains associated with your account.
- If your records are incorrect, you will see a warning in the Email Deliverability Status column: Problems Exist (DMARC, DKIM, and SPF).
- Click the Manage button next to the domain you want to configure.
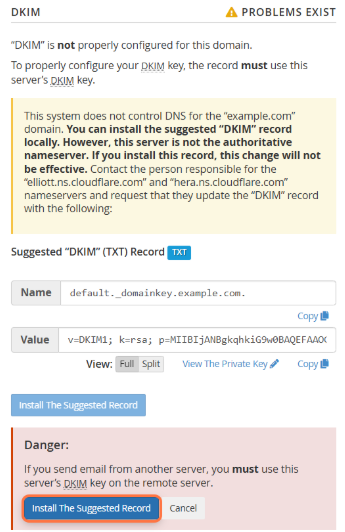
- Scroll down to the DKIM section. If the record is missing, cPanel will offer a generated code. Click the Install The Suggested Record button.
- cPanel will display a Danger warning – Click the Install The Suggested Record button again.
- Repeat the same process for the SPF section. Locate the suggested record and click Install The Suggested Record.
- After installation, the status at the top of the page should change to Valid. Your domain now has correct SPF and DKIM records.

Step 3: Adding a DMARC Record
DMARC relies on the previously configured SPF and DKIM records and provides instructions to servers on what to do with messages that fail authentication.
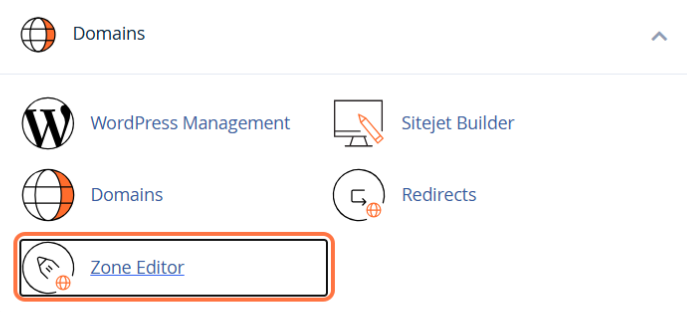
- Return to the cPanel home page.
- In the Domains section, find and open the Zone Editor tool.
- Find your domain in the list and click the Manage button.

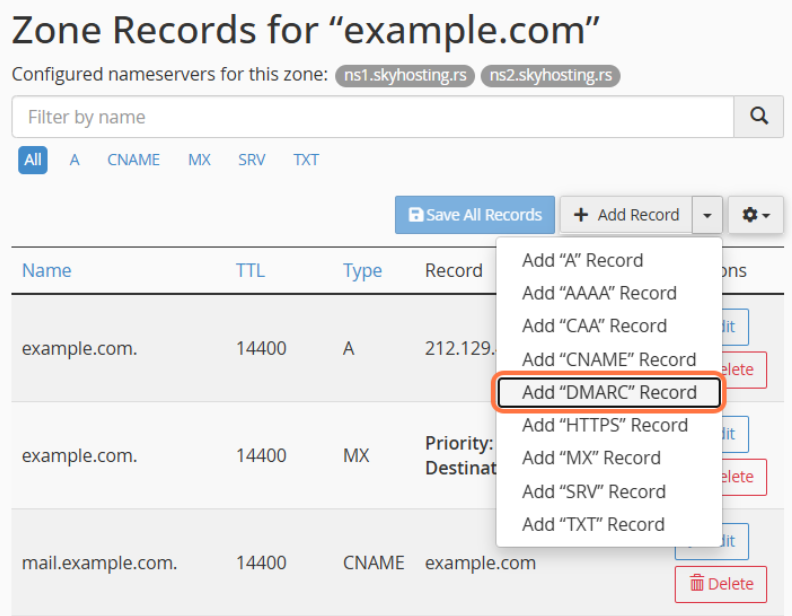
- Find the Add Record button, click the arrow next to it to open the dropdown menu, and select Add "DMARC" Record.
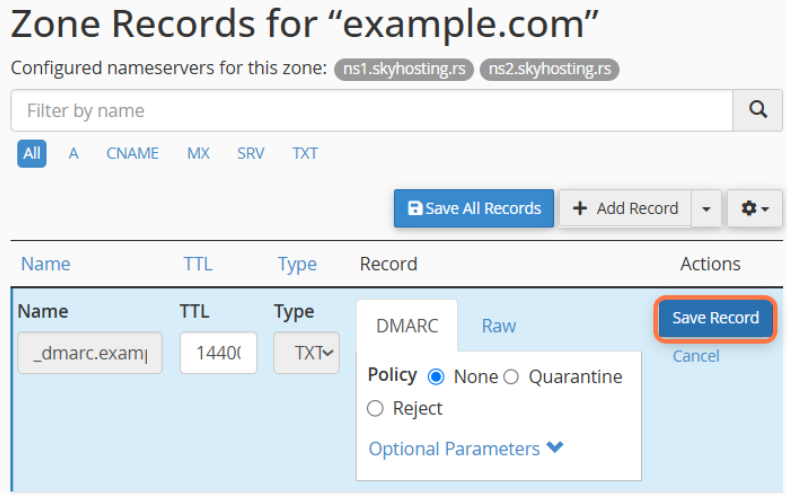
- cPanel will automatically fill the form with default values. The recommended initial policy is None (monitoring without blocking emails). If not automatically selected, choose Policy: None. The form should look like this:
- Name: _dmarc (cPanel will automatically append your domain name at the end)
- TTL: Leave the default value (usually 14400)
- Type: TXT
- Record: cPanel will automatically generate a code like v=DMARC1; p=none;
- Click the Save Record button to save the changes.
IMPORTANT NOTE: After adding or modifying DNS records, it takes some time (usually from a few minutes to a few hours) for the changes to propagate across the global network. After that, your emails will be delivered successfully and securely.
